Saturday

Quick Bassinet Cover Tutorial

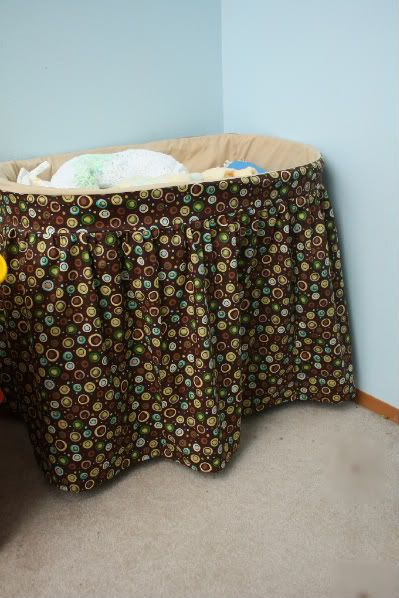
So, a few people have asked about a tutorial for my bassinet cover. While I don't have step by step photos, I will give you a general idea of how I did it. Here is the photo as a refresher for what it looks like:
Photobucket

I started by measuring my bassinet. I don't know how much difference there might be between brands and styles, so I suggest that you measure yours before cutting any fabric.

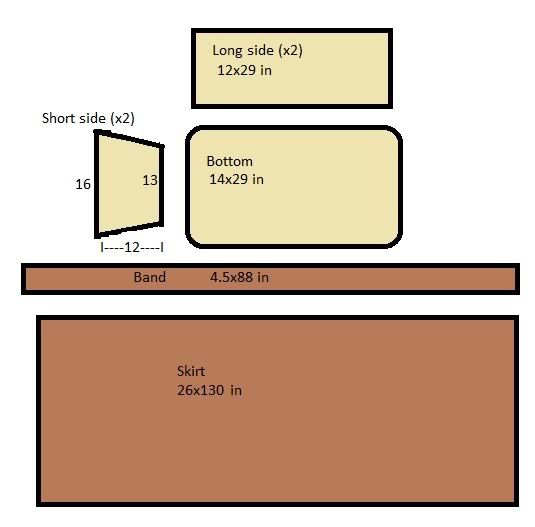
There are 5 basic parts to the cover: bottom, long side, short side, band, and skirt. The bottom goes at the bottom of the bassinet, the mattress goes on top of it. The long and short sides are the interior sides of the bassinet. If your bassinet is rectangular, you have 2 long sides and 2 short sides. The band fits closely over the top outer edge of the bassinet. And the skirt is the rest of the outside, with the ruffle at the top and hem at the bottom.
Photobucket

Here are the measurements of my fabric for each piece, with a 1/2 inch seam allowance. My bassinet is sightly oval shaped, and the vertical sides flare out a little, which is why I have rounded corners on the bottom piece and trapezoid shape on the short side pieces. The band is made from 2 strips that are 4.5x44 inches. The skirt is made from 3 pieces that are 26x44 inches (my fabric was 44 inches wide).

I started by sewing together the long and short sides. Then I sewed it to the bottom piece. This makes a little basket kind of shape. I sewed together the 2 band strips into a loop, then sewed that to the top of the side pieces.

I did the skirt last. I sewed the 26 inch sides together first. Then basted the top edge (for the ruffle). Make the ruffle, pin it to the band, and sew it in place. Last make the hem. I made mine about 24 inches from the band to the ground, and it doesn't quite touch the ground. If you want it to reach all the way to the ground, hem accordingly.

I hope that makes some sort of sense, I'm not good at making patterns or tutorials.
Friday

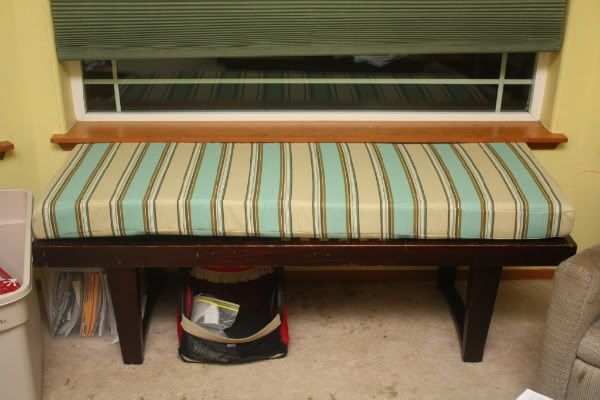
Bench Seat Cushion

Photobucket
I bought this bench over a year ago, and got the materials for a cushion shortly after. Well, I finally got around to making it (yay for pregnancy nesting).
It is a simple rectangle with 4 inch foam inside. Only took me 3 hours to get it done, including the hand stitching at the end. I should have dome this a while ago.

Wednesday

White Baptism Dress

IMG_6738
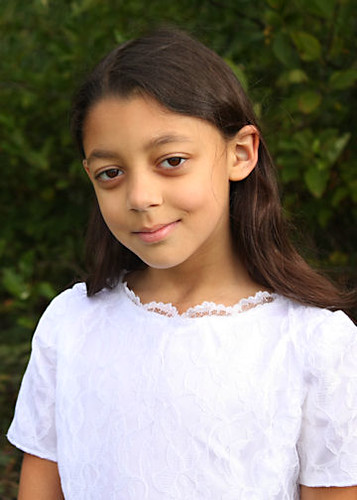
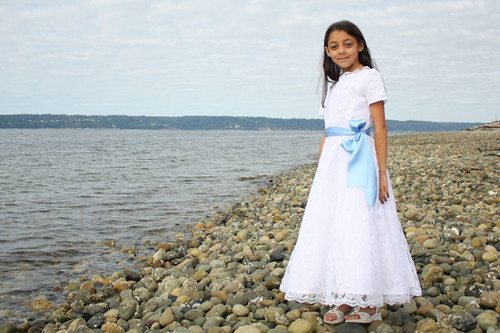
In October, my oldest child got baptized into our church. For the occasion she wanted a white dress. We couldn't find one we liked in any stores, so I decided to make one. She picked out the pattern, all fluffy and lacy (it's from Butterick). She loves it.
IMG_6715

Bassinet Cover

With a new baby, I feel the need to have new things. One of the things I felt I absolutely must have is a new cover for our bassinet. I already have 2 covers, but they were for other kids and in other apartments. Now we have our own house and the other covers just don't go with our wall color. So, I set about sewing a new cover. At one time I had a pattern. That is long gone. So, I just took measurements from the previous cover and winged it.
We don't know the gender of our baby, so I chose some brown fabric. It has tan, green and blue circles on it (which go with the blue walls nicely). If we have a boy I have blue and green blankets which will match perfectly. If we end up with a girl, I have plenty of pink and purple blankets that will go just as well with the dark brown.

I think it turned out pretty well.
Photobucket