Thursday

Dancing Sign


My oldest takes ballet classes. The owner of the studio (and her teacher) is a friend of mine. So, when the end of the year came, I wanted to give her a little teacher gift. Well, it turned into a big teacher appreciation gift. I am so proud of how it turned out I thought I'd share it with everyone.
It is a 10x20 size 'photo'. I had to buy a collage frame and then just get rid of the multi-photo mat to frame it (there is a serious lack of 10x20 photo frames out there). Another idea for this photo would be to get it printed on canvas, or maybe decoupage it onto a canvas.
Clicking on the photo will take you to a download page if you want to have this for yourself.

Monday

Junk Drawer Purse


On Saturday I attended a 'make it take it' day at my church. I decided to make a 'Junk Drawer Purse'. It's a little place to put all those things that you want to have with you, but are so small they either get lost or buried in the bottom of your purse (or diaper bag in my case).
Here is a quick tutorial (sorry I didn't take photos during the making)
Supplies:
Outer fabric- 9.5in x 12in, and 8in x 2in for band
Inner contrasting fabric- 7.5in x 11in
6 snack sized plastic bags (I used Ziplock bags)
Staples (optional, but helpful)
Thread

To make:
Optional- Stack 3 plastic bags and staple together close to the bottom, so they don't shift while sewing. Repeat with the other 3 bags. The bags are quite slippery, so stapling just helps keep them in place and makes sewing easier.
Layer inner and outer fabrics with wrong sides together, matching centers.
Place 3 bags (stapled together) on top of inner fabric, along the center, and 3 bags on the opposite side. Take the fabric band and press under 1/4 inch on both long sides. Place this on top of the bags and fabric pieces, along the center. Stitch it together using a zigzag stitch along each long side. (see photo for reference)
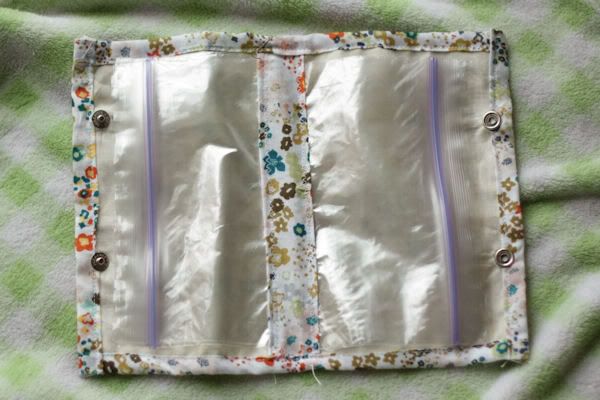
Photobucket
Now all that's left is to finish the outside edges. Press over 1/4 inch on the long sides. Press another 1/4 inch and stitch in place. Repeat with the short sides.

To create a closure, use either bottons and loops or snaps. Then fill and use as desired.

Matching Outfits

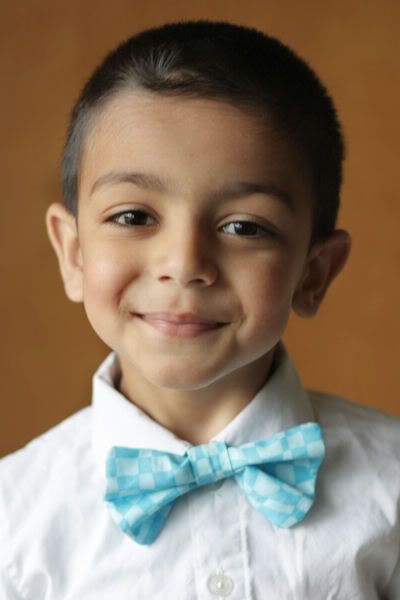
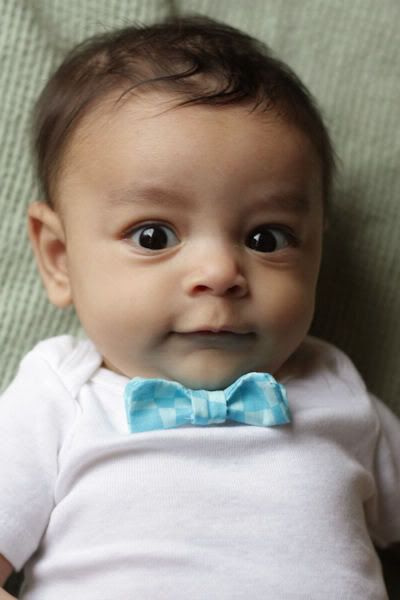
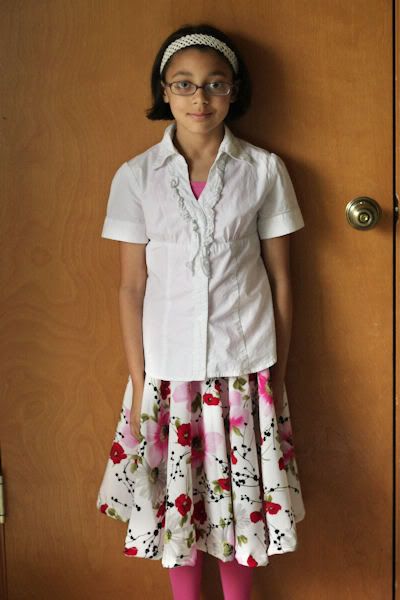
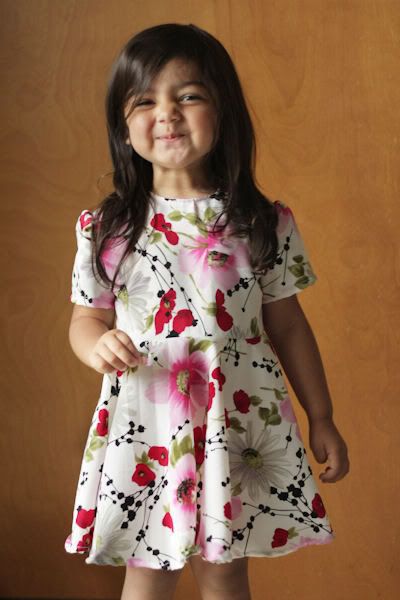
I usually avoid super matching outfits. But every so often I do make matching things for my kids. So here are some recent matching things I have made.
Bowties for my boys (using this tutorial from Prudent Baby)
Photobucket
Photobucket

A circle skirt for my oldest (used this tutorial on Made for the math). I encased a thinner elastic band, instead of having it exposed like in the tutorial.
Photobucket

A matching dress for my younger girl. This was my inspiration. I used an old simplicity pattern for the bodice, and did a circle skirt for the bottom. And let me take a moment to say how much I hate hemming a circle skirt! Totally takes away from the convenience of no seams. My husband of course suggested using duct tape or staples. Maybe next time.
Photobucket

Sunday

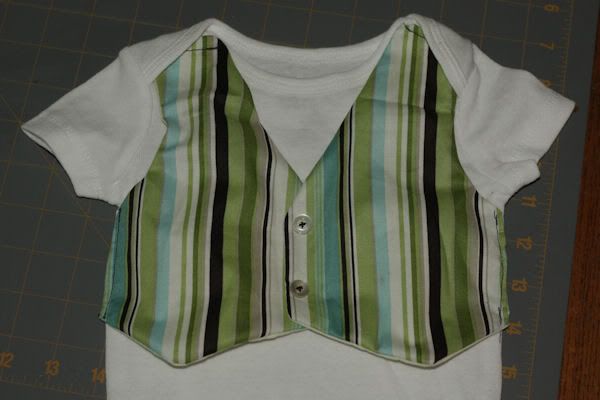
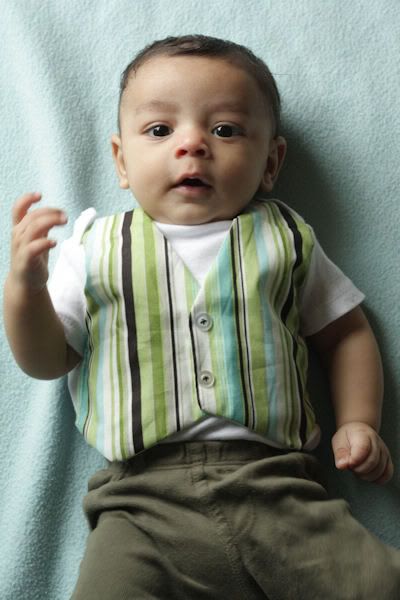
Onesie Vest

Photobucket
I made this cute onesie vest for my baby boy. I feel like I don't sew for the boys enough. It was super easy and quick to make. Anyway, you can find the tutorial at B is for Boy!
Photobucket

Also, a quick shot of my younger daughter wearing the pillowcase dress from my last post.

Friday

Some Summer Fun

Summer is finally here. The kids got out of school a bit late because of snow make-up days. But, now that they are home all day, we are filling some of our days with crafting. Here are a few things I've done these past couple weeks.


Made a bubble container I saw HERE. We bought some big bubble wands at Target (in the dollar section), and needed to be able to fill up the trays. This is a great way to store homemade bubble solution while still being able to dispense it without too much mess. They can even refill little bubble bottles. I didn't know where to easily buy glycerin, so I used a recipe for bubble solution that uses liquid dish soap, water and corn syrup, because I already had those things on hand.
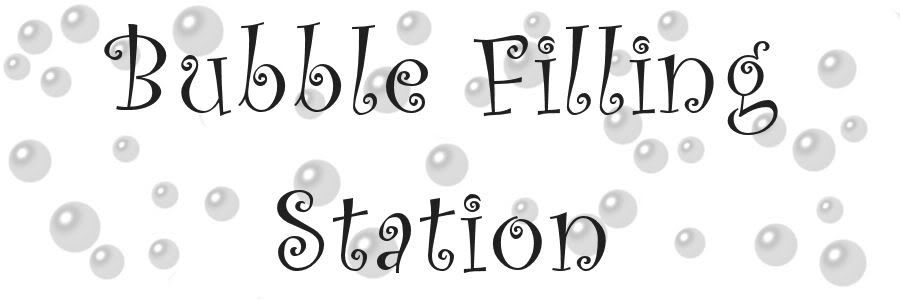
I made my own label to go on it. You can have my label to print if you want it (photo is clickable). It is about 3in high and 9in wide. I ran it through my Xyron sticker maker to attach it to my plastic jug. It could also be easily attached with clear tape.
Photobucket

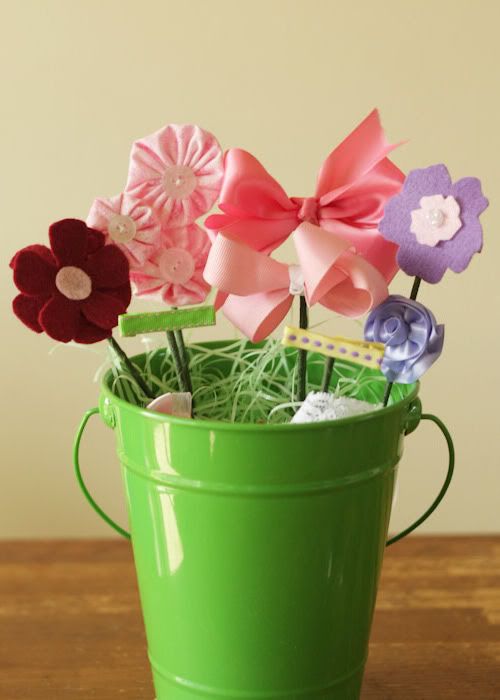
Made some cute hair bows and clips for a friends baby shower. I used various free tutorials I found around the web.
Photobucket

Yoyo flowers: http://theadventuresofroryandjess.blogspot.com/2010/04/yo-yo-clip-tutorial.html
Bows and Covered alligator clips: http://www.girlythingsbows.com/
Felt flowers: no tut, just layered some flower shapes and hot glued
Ribbon rosette: http://www.cuteasafox.com/2010/03/no-sew-ribbon-rosette-tutorial.html
Tiny felt flower (unseen in this photo, sorry): http://www.makeit-loveit.com/2011/03/baby-hair-accessories-wool-felt.html

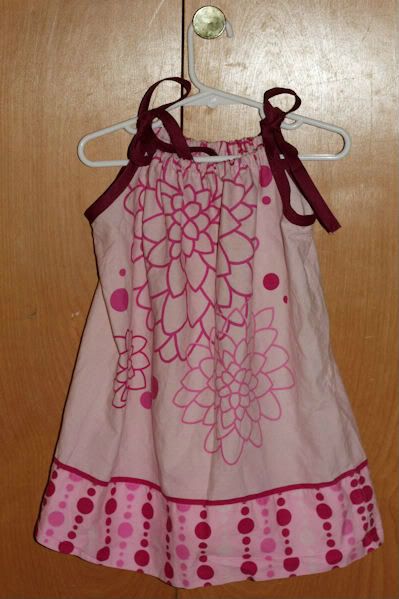
A quick pillowcase dress I made for my younger daughter. I found this cute pillowcase at a local thrift store. After a thorough washing I used THIS tutorial.
Photobucket